OpenOffice.org Writer
Start Writer by clicking on the big K, scrolling up to the >OpenOffice.org menu (in some distributions, check under the Office menu), and clicking on OpenOffice.org Writer. The first time you start Writer, the Address Data Source AutoPilot dialog box will appear. The applications in OpenOffice.org can access information in your Netscape or Mozilla address book from an external LDAP server or from a number of other data sources, such as a database file. This information can then be used when you are creating mailing labels or distribution lists. If you don't have anything set up, don't worry. Simply click Cancel, and you are done.
Shell Out
To run OpenOffice.org Writer from the command line (or via your <Alt+F2> shortcut), use the command oowriter (think OpenOffice.org Writer). Please note that some distributions may still use swriter (the StarOffice version of the command). |
OpenOffice.org Writer starts up with a blank page, ready for you to release that inner creative genius. At the top of the screen, you'll find a menu bar where commands are organized based on their categories, including the friendly-sounding Help submenu (more on that shortly).
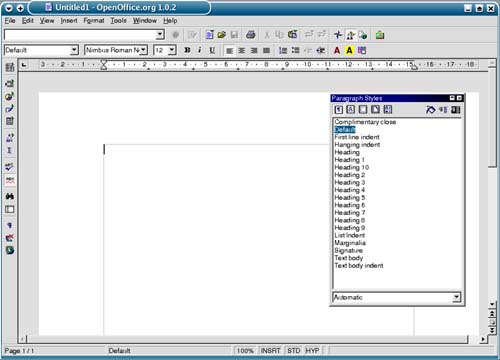
You should also see a selection box open on the screen for Paragraph Styles (see Figure 13-1). This lets you quickly access and apply styles such as headings, text boxes, and so on to your paragraphs. The Stylist floats above your document at all times for rapid access. I'll tell you more about the Stylist later. For now, click the x in the corner to close it. You can always turn it on at a later time by pressing <F11> or clicking Format on the menu bar and selecting Stylist.
Figure 13-1. OpenOffice.org Writer on startup.