Kpackage
KDE's package tool, kpackage, uses a graphical interface to allow for easy installation or removal of packages. When you first start up kpackage (which you can quickly call by pressing <Alt+F2> and typing kpackage), you'll get a two-pane display with the installed packages on the left and an information window on the right. Click on an installed package (such as tar in Figure 7-1), and you'll get to know all about that package in the right-hand window's Properties tab.
Figure 7-1. Kpackage, the KDE package manager.

Click on the File List tab, and you'll get a listing of every file that makes up this package and where these files live on your system. This is actually a great way to get to know the packages installed on your system, and I would highly recommend walking through the list and getting a feel for what comprises your Linux system.
Notice as well that all of the packages in that tree view to the left are in a category hierarchy, based on what kind of package they are.
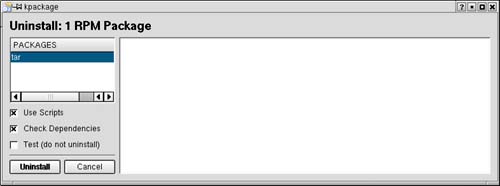
To remove (or uninstall) a package, just click on the Uninstall button at the bottom of the screen (Figure 7-2). A warning screen will appear, listing the package (or packages) you are looking to uninstall. If this is really what you want to do (and by the way, I do not recommend that you uninstall tar), click Uninstall. A report of the uninstall process will appear in the right-hand side information window.
Figure 7-2. Using kpackage to uninstall software.
Installing Packages
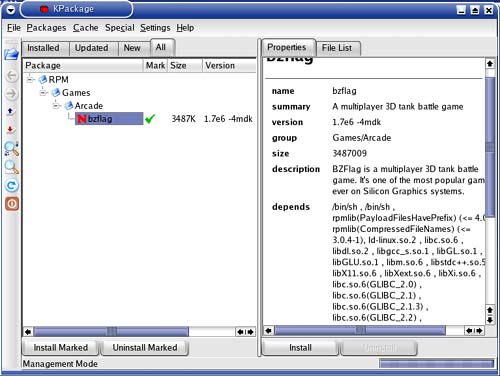
To install a package, we first need to identify one, and there are many ways of doing this. Using Konqueror, I surfed over to http://www.rpmfind.net and searched for a package. In this case, I chose the bzflag package (a cool 3D networked tank game). I typed bzflag in the search field, then I found in the list of packages a release that was compiled for Mandrake (which I happened to be running at the time), and I clicked on the file. Konqueror recognizes this as an RPM package and offers to bring up Kpackage, the installation tool (Figure 7-3). You can also right-click on the package, click Open with from the menu, and select or type kpackage.
Figure 7-3. Installing the bzflag tank game.
Quick Tip
You'll see many different types of packages in these listings. Pay particular attention to the last two suffixes in the package name, for example, .i386.rpm. This implies a package built for the Intel (x86) architecture. A .i586.rpm would indicate a package that will not work on anything less than a Pentium architecture (no 486 for you). Another you may see is .alpha.rpm. This one represents the Power PC architecture. If you see .src.rpm, this represents a source package. It is nonbinary and would have to be built on your system before you could use it. |
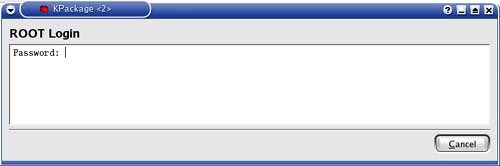
I click Open, and the system downloads the software and presents me with a window listing that package. After clicking Install, the options presented are Upgrade, Replace Files, Replace Packages, Check Dependencies, and Test (doesn't actually do an installation). You can safely accept the default options, which are to upgrade, replacing old packages as well as checking dependencies. When you are ready to do the install, select your package (listed to the left) and click Install. You will now be asked for the root password (Figure 7-4). Enter it and press <Enter>.
Figure 7-4. Package installations must be cleared by root.
After a few seconds, the package installation will complete, and kpackage will display the status of the new package, along with its description.
Quick Tip
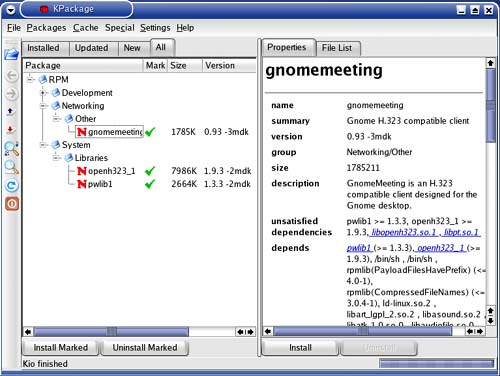
There's another way to install using kpackage, and this is particularly good if you are installing more than one piece of software (or if you are a big fan of drag-and-drop computing). After finding a package with Konqueror, simply drag the rpm package onto a running kpackage and follow the steps. When dependencies are an issue (you may see a list of unsatisfied dependencies in the Properties tab of the install screen), just drag the missing packages into the kpackage window, mark each package by clicking on the dot in the Mark column (a green checkmark will appear), then click Install Marked to do them all as a batch. In Figure 7-5, I installed GnomeMeeting (similar to NetMeeting) to demonstrate this method. Figure 7-5. Installing multiple interdependent packages.
|