Task 5 How to Build JavaScript Rollovers
Rollover animations are graphics that change as you pass your mouse over a specific spot onscreen. These animations are useful for emphasizing links, especially in graphics that may not be clearly marked. Rollovers consist of a normal state, a mouse-over state, and a click state, so this task creates a separate image variation for each state. To explain the rollover effect, this task creates a basic button and then changes the state of the button. After you create the button and its three states, you must save the HTML code as well as the graphics and then paste the code into the target Web page.
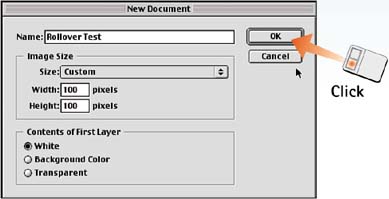
Create a New ImageReady File
In ImageReady, choose File, New to open the New Document dialog box so that you can create a new file. For this task, give the document the filename RolloverTest, specify a height and width of 100 pixels for the image size, and select the White radio button. Click OK.
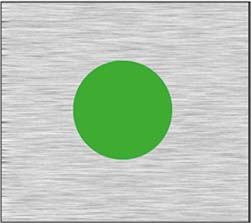
Create the Button
Set the foreground color to the color you want to use for the button you'll be drawing. Select the Elliptical Marquee tool and Shift-drag within the image to draw a circle the size of the final button. Use the Paint Bucket tool to fill the button shape with the foreground color.
Add the Layer Effect
To give the button a 3D effect, choose Layer, Layer Style, Bevel and Emboss. Set the desired parameters in the Bevel and Emboss palette that appears. If you want, you can also add an Outer Glow Layer effect to create a realistic shape, as I did here.

Make Layer Duplicates
From the Layers palette menu, choose Duplicate Layer to copy the button and its effects. Choose Duplicate Layer again to create a total of three layers, each of which shows the same button and bevel.
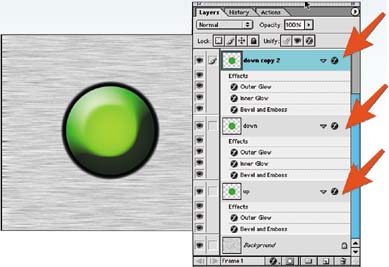
Color the Layers
In the Layers palette, select the first duplicate layer and open the Inner Glow Layer Effect dialog box. Add the light green glow color and click OK. Go back to the Layers palette and select the second duplicate layer. Open the Hue/Saturation dialog box and adjust the Hue slider to change the color of the button to red. Change the glow color to orange and click OK.

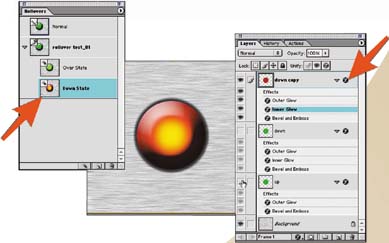
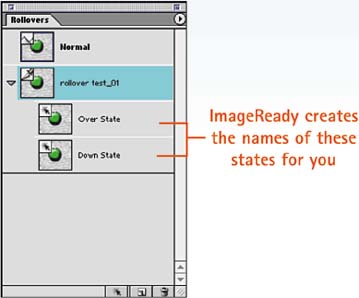
Create Rollover States
Choose Window, Rollovers to open the Rollovers palette. Select New State from the palette menu to create a new state caller Over State. Select New State again to create another new state called Down State. You now should have a total of three states: Normal, Over, and Down. (And, unbeknownst to you, ImageReady is creating the JavaScript code to make all this work!)
Assign Layers to States
In the Rollovers palette, select the Normal state; in the Layers palette, select the layer that shows the color you want the button to be in its normal state. Repeat for the Over state and Down state. Choose File, Save Optimized to save the file, making sure that Format, HTML and Images is selected.