Task 3 How to Use Multiple Views
People are working with larger images than ever before. One challenge is being able to zoom in on work at a pixel level while still monitoring the overall look of the piece. The best way to address this issue is by using multiple views. Just open two separate windows of the same file, specify a high rate of magnification for editing in one window, and leave the other at full screen size to check your progress as you work.
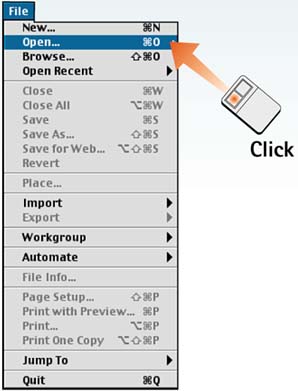
Open the Main File
Choose File, Open to display the Open dialog box. Select the file you want to work on and click OK.
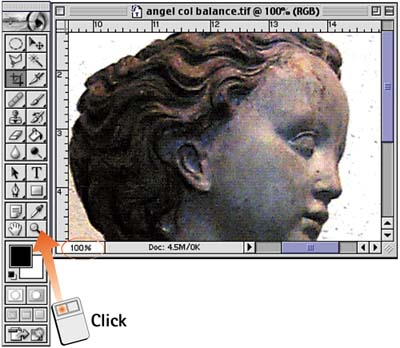
Set Desired Magnification
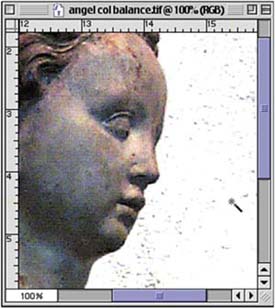
Click the Zoom tool in the toolbox and click the image. Watch the zoom percentage numbers in the lower-left corner of the screen. Continue clicking to zoom in to the magnification level that lets you see the area clearly. To zoom in on a particular area of the image, click the Zoom tool and drag to draw a marquee around the area you want to magnify.
Open a New View
To create a second window on this same image, choose Window, Documents, New Window. You now have two windows with the same image on your desktop: One shows the full image, and the other shows a detailed zoom of a single area. At this point, you can create additional views for as many areas as necessary. (Don't worry about "using up" system resources when using multiple views. Your computer can handle it!)
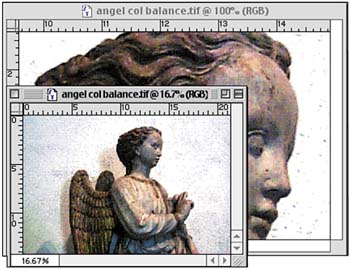
Drag Windows into Position
Because the active window automatically appears on top of any other open windows, you should arrange the image windows so that they're side by side. This arrangement allows you to see both the zoomed screen and the full screen at the same time.

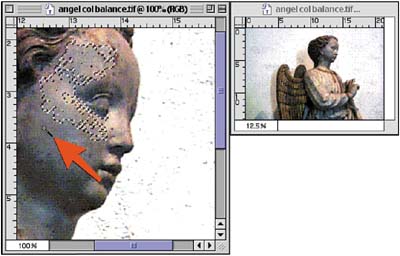
Edit the Image
Make any local edits to the image in either window. For example, you can paint, erase, or silhouette. (These and other tasks are explained later in this book.) As you work in one window, notice that the image is updated in real time in the other window.
Close Window to Reduce Number of Views
When you finish editing the image, close either of the view windows (click the Close box in the title bar) to revert to a single view and reduce onscreen clutter.
How-To HintsUsing Macro and Micro Views When necessary, you can open a third window to show a high magnification, normal size, and reduced views. Views and Proofing Views can be very useful when you're proofing an image in different color spaces. Open multiple views of the same image and select View, Proof Setup; then select the color model of your choice (such as Macintosh RGB or Monitor RGB). You can even select Custom and choose the Colorsync profile of your choice. This is a great way to compare multiple color spaces side by side, using the same image. |


