Task 8 How to Fill with the Paint Bucket
The Paint Bucket tool follows the same basic principle as the Magic Eraser you used in Task 3. The difference is that instead of erasing continuous pixels, the Paint Bucket tool changes the pixels to a single color. As with the Magic Eraser, you apply the Paint Bucket effect with a single mouse click. The Tolerance setting plays a big role in the final result.
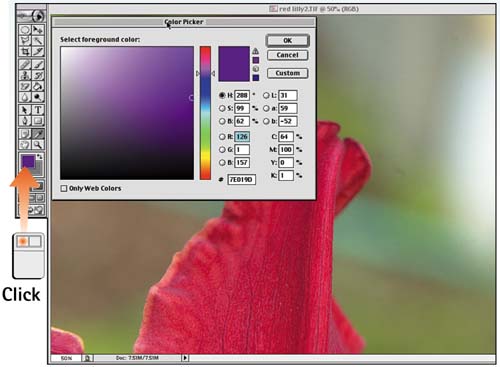
Select the Foreground Color
With the image file you want to modify open, click the Foreground color swatch in the toolbox. The Color Picker opens. Select the fill color you want to use with the Paint Bucket. (With the Color Picker open, you also can select the foreground color by clicking in the image window itself.)
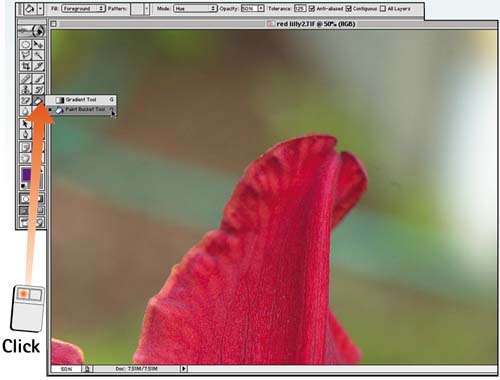
Select the Paint Bucket Tool
Select the Paint Bucket tool from the toolbox. If it is not visible, click and hold the Gradient tool and select the Paint Bucket tool from the pop-out menu that appears.
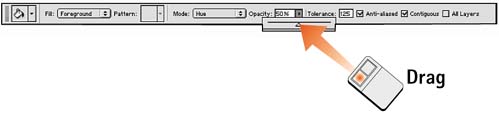
Set the Opacity and Fill Type
In the Options bar, drag the Opacity slider to modify the transparency of the effect. Set the opacity to less than 100 to fill the area with a transparent color. Always set the Fill menu to Foreground unless you want to fill with a saved pattern. If no pattern is saved, the Pattern menu is grayed out.
Set Tolerance
The Tolerance option determines how adjoining pixels are changed by the Paint Bucket tool. Type a high value in the Tolerance box to spread the fill color across a wider tonal area. Type a low value to change a narrow color range.

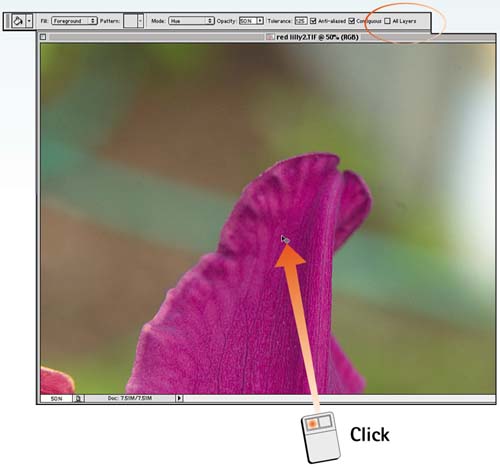
Fill the Area
Click in the image window to fill an area with the specified color. By default, the effect is confined to an area on a single layer, based on the Tolerance setting. You can target the entire image by enabling the All Layers check box in the Options bar for the Paint Bucket tool.
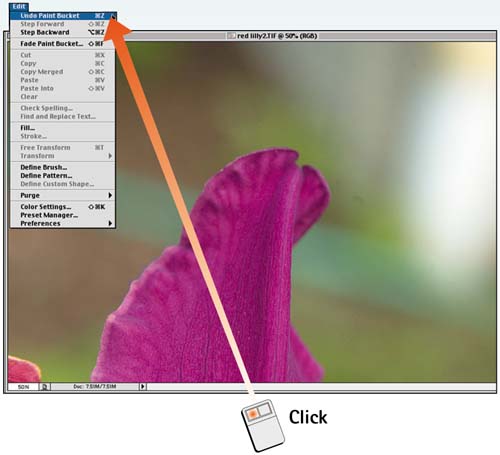
Undo If Necessary
If the effect is too broad or narrow, undo it by choosing Edit, Undo Paint Bucket or by using the History palette. Alternatively, adjust the Tolerance slider in the Options bar for the Paint Bucket tool and reapply the effect.
How-To HintsChanging All Values By default, the Paint Bucket tool applies its effect to adjoining pixels of similar color. You can change all pixels of a similar value by deselecting the Contiguous check box in the Options bar. For example, with Contiguous deselected, if the foreground color is red and you click a yellow pixel, all yellow pixels in the entire image will change to red, regardless of whether they adjoin or not. |


