Printing Database Objects
Sometimes it is unnecessary to go through the process of building a report. It might be sufficient, for example, to simply print the datasheet that shows the result of running a query. Access allows you to print table datasheets, query results, and forms. The following sections cover the process of printing each of these objects.
Printing Table Datasheets
You can easily print a table datasheet. Here's how:
Select Tables in the list of database objects.
Double-click the table whose data you want to print.
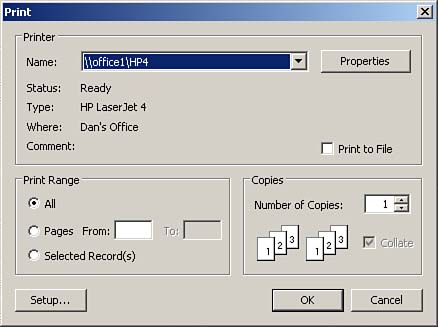
Click the Print Preview button to preview the data before you print it or click Print to send the data directly to a printer. As an alternative, if you want to modify print settings, you can select File | Print. The Print dialog box appears (see Figure 5.14). Modify any print settings and click OK to proceed.
Figure 5.14. The Print dialog box, which allows you to modify print settings.
While in Print Preview mode, you can change the page setup options by choosing File | Page Setup. Access does not save these changes when you close Print Preview. |
Printing Queries
You can print the datasheet that is the result of running a query by following these steps:
Click Queries in the list of objects in the Database window.
Double-click the query whose result set you want to print.
Click the Print Preview button to preview the data before you print it or click Print to send the data directly to a printer. As an alternative, if you want to modify print settings, you can select File | Print. The Print dialog box appears. Modify any print settings and click OK to proceed.
Printing Forms
When you print a form, you print the data and the layout of the form. Here's how you do it:
Select Form in the list of database objects.
Double-click the form you want to print.
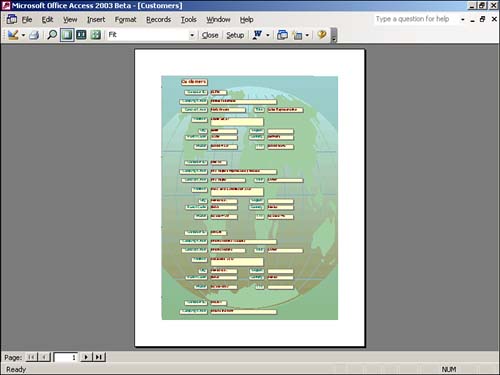
Click the Print Preview button to preview the data before you print it (see Figure 5.15) or click Print to send the form directly to a printer. As an alternative, if you want to modify print settings, you can select File | Print. The Print dialog box appears. Modify any print settings and click OK to proceed.
Figure 5.15. Previewing a form before you print it.
Task: Working with Reports
It's important that you be able to create a report by using the Report Wizard and that you be able to modify and print that report. This task walks you through that process: |
Create a new report based on the Customers table in the Northwind sample database that comes with Access. Use the Report Wizard to do so. The process involves adding the appropriate fields and groupings, selecting a sort order, and selecting a layout and style. The following are the specifics:
Add all the fields to the report.
Group on the Country field.
Sort on the City field.
Choose the layout and style you like.
Title the report Customers by Country.
Preview the report.
Close the report.
Open the report you just saved.
Print the report.
Close the report. Close the database.
Task: Printing Database Objects
It is important that you be comfortable printing database objects. This task walks you through that process:
Open the NORTHWIND database that ships with Access.
Preview and then print the Customers table.
Preview and then print the Sales by Category query.
Preview and then print the Product List form.
Print the Sales by Category report from the Database window.


