Building the Descriptions
In this task, you will prepare the tour descriptions. As with the country profiles, this activity blends together both static and dynamic elements.
In design view, position the insertion point between the two Find Tours lines, and choose Insert > Horizontal Rule.
The horizontal rule will be used to separate each of the tour descriptions.
Type the following into the document:
XX Country Name: Tour Name XX
Tour Description:
Number of Nights:
Meals per day included:
Exercise required:
Itinerary:
Learn more about XX Country Name XX
Price this tour with the Tour Price Calculator
All Photographs © Photodisc
Once again, you are entering the static content first, just to provide the page with its initial structure. In the coming steps, you'll insert dynamic content in appropriate places within the page.
To add the © symbol, choose Insert > Special Characters > Copyright.
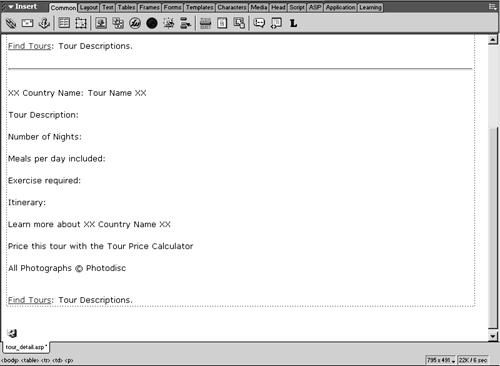
Click once in the XX Country Name: Tour Name XX line, and use the Property inspector's Format menu to change it to a Heading 2 element. One at a time, for each of the next five paragraphs, select the text up to (but not including) the colon, and click the Bold button in the Property inspector.
Here you are formatting the static HTML framework that you created in the previous step.
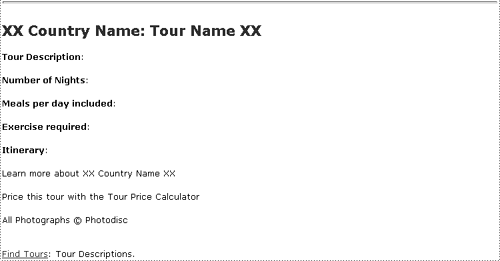
Select XX Country Name from the title, and replace it with countryName from the Bindings panel.
Dreamweaver replaces the placeholder text you typed with its own pseudocode to indicate the source of the dynamic text.
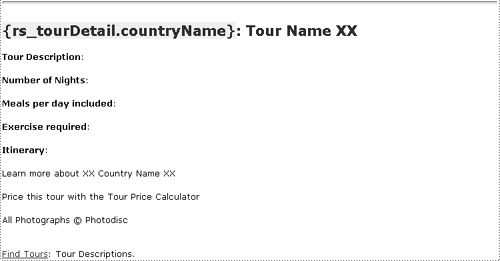
Select Tour Name XX, and replace it with tourName from the Bindings panel. Choose View > Live Data to verify that one country and tour are displaying correctly. Toggle off Live Data once you have verified that it's working.
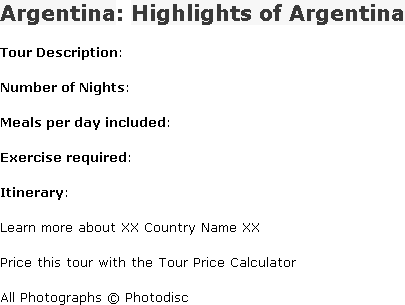
I often toggle Live Data on and off during development just to make sure there are no surprises. You should see Argentina: Highlights of Argentina in the title. The interesting thing to point out is that not only is the title derived from two different fields in a recordset, but the different fields are also derived from two different database tables. The country name comes from tbl_country, and the tour name comes from tbl_tours. The fact that the country (Argentina) is correctly correlated with the tour (Highlights of Argentina) is further confirmation that the join in your query worked.
Bind dynamic data after each of the following five items (the same five you bolded in step 3), as specified below:
Tour Description: description
Number of Nights: numNights
Meals per day included: meals_per_day
Exercise Required: exerciseReqd
Itinerary: itinerary
This is the meat-and-potatoes step of adding most of the dynamic content to the page. It is no different than what you have done before.
Toggle Live Data back on.
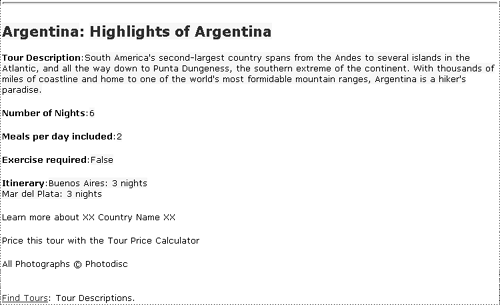
For the most part, it seems to be coming together pretty well. The itinerary part looks sloppy, however, because the second night is on a new line, which doesn't line up with the first. A simple table will fix this.
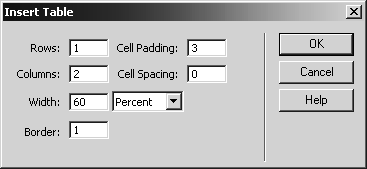
Toggle off Live Data and create a table with one row and two columns to separate the static text from the dynamic text. Give it the settings shown in the screenshot. Then drag Itinerary: into the left cell, and drag the dynamic block into the right.
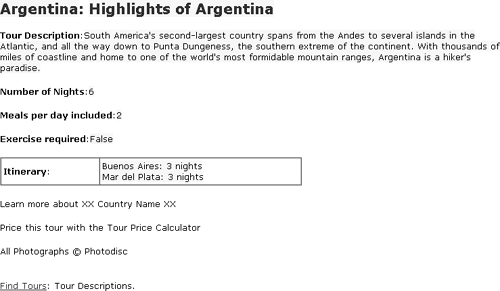
This way, when the itinerary is output on multiple lines, they'll all line up properly. You'll need to toggle Live Data back on to see the results.
Select XX Country Name XX in the paragraph below the itinerary table, and replace it with countryName from the Bindings panel.
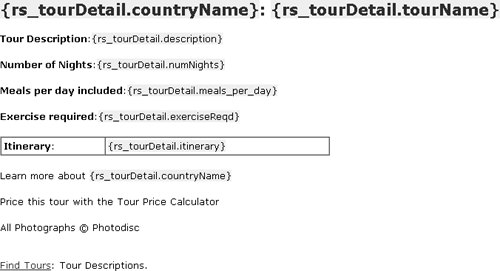
This will output the country name again. Later in this lesson, you'll add a link from this country name to its profile.


