Preparing the Pages
To insert a master-detail page object, you must open the page that will become the master. In the course of completing the dialog that creates the page set, you specify the name of the detail page as well. If you haven't yet created the detail page, Dreamweaver can create one for you. But it's hard to go back and apply your template to that page. Thus, in this task, you will create the master and detail pages used in this set.
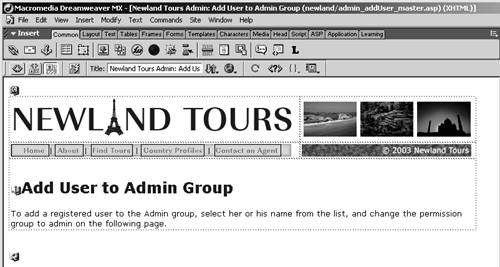
Open admin_template.asp, title the page Newland Tours Admin: Add User to Admin Group, change the heading to Add User to Admin Group, and save the file as admin_addUser_master.asp.
This page will be the master page, holding summary information about each of the registered users.
Replace the placeholder body text with the following. Save the file.
To add a registered user to the Admin group, select her or his name from the list, and change the permission group to admin on the following page.
Again, providing directions now enhances the efficacy of the site and reduces tech-support calls and frustration later.
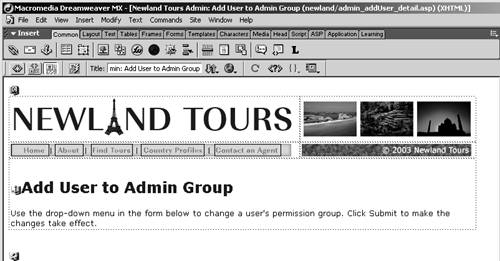
Open admin_template.asp, title the page Newland Tours Admin: Add User to Admin Group, change the heading to Add User to Admin Group, and save the file as admin_addUser_detail.asp.
This page will be the detail page, which will contain the form that employees can use to actually change a user's permission group.
Replace the placeholder body text with the following. Save the file.
Use the drop-down menu in the form below to change a user's permission group. Click Submit to make the changes take effect.
You have now built the basic page shells to which you will add the Master-Detail Page Set object.
In admin_index.asp, link the Add or remove a registered user line to admin_addUser_master.asp.
Now users have convenient access to the new page set.