Inserting the Images and 'alt' Attributes
The tour descriptions, like the country profiles, each have an image. In this task, you'll add those images (dynamically, of course), and you'll also add alt descriptions using information stored in the database.
Position the insertion point just before the tour name {rs_tourDetail.countryName} in the heading near the top of the page.
The image will be positioned in the top-right corner of each tour description, much like it was with the country profiles.
Choose Insert > Image. In the Select Image Source dialog, click the Data Sources radio button. Expand the recordset, and choose tour_imageURL in the list. Click OK.

Once again, the text string that contains the URL is stored in the database. When you insert a dynamic image, what you are really inserting is a dynamic string of text, which consists of a URL pointing to an image, inside of an <img> element.
An image icon appears in the document, where the insertion point was a moment ago.
With the image icon still selected, set its alignment to Right in the Property inspector.
The image icon moves to the right side of the page, while a yellow icon takes its place. To set the image's properties in the future, you can click either the image or the yellow icon.
TIP
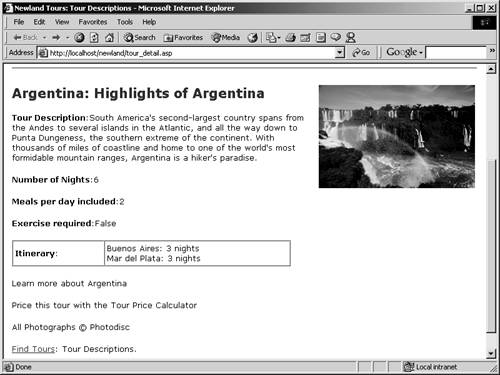
To make sure that the image works as expected, toggle on Live Data. You should see a photo of a series of waterfalls, with a rainbow and a lake in the foreground.
Select the image on the page, and in the Bindings panel, click to select tour_imageALT.
When you select tour_imageALT, the Bind To menu at the bottom of the panel becomes active, usually defaulting to img.src.
In the Bind To menu, change the selected option to img.alt. Click Bind.
The image caption is now bound to the image as an alternate description. To confirm this, with the image selected, look in the Alt field of the Property inspector. You should see some dynamic code, and somewhere in that code, you should see rs_tourDetail.tour_imageALT.

Save, upload, and test the file.
The page should look pretty good in a browser at this point. Depending on your browser, if you hover your cursor over the image, a tool tip should appear displaying the alt description. Also, double-check that all of the dynamic text fields look right. For example, underneath the itinerary table, you should see "Learn more about Argentina."