Creating the Admin Section
By the time the site is complete, employees will be able to do a number of adminis trative tasks, which include inserting new Traveler's Journal articles, maintaining the country profiles, and maintaining the tour descriptions. All of these activities will be limited to those in the admin user group. It is a nice touch to create an administrative homepagea single page that links to all of the different tasks that administrators can accomplish with the site.
In addition, creating the CMS features will mean creating several new pages. Each of these pages needs to have the Restrict Access to User server behavior applied to it in such a way that only members of the admin user group can get in. That could get monotonous, so to avoid that, you'll create a special admin-only template, called admin_template.asp, which is nearly identical to generic_template.asp, except that it'll have the Restrict Access to User server behavior already applied.
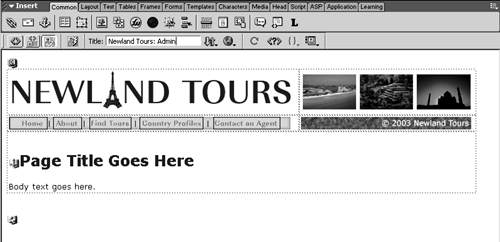
Open generic_template.asp. Use the toolbar to change the title to Newland Tours: Admin, and save the file as admin_template.asp.
You know your template is useful when you use it to create other templates!
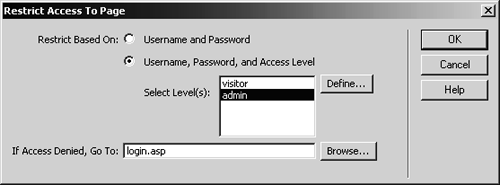
Use the Server Behaviors panel to add a Restrict Access to Page behavior. In the dialog, restrict based on Username, Password, and Access Level, and make sure that only admin is selected in the Select Level(s) area. Specify login.asp in the If Access Denied field, and click OK.
All of the admin pages should require that the user log in as a member of the admin user group, so you might as well attach the Restrict Access to User behavior directly to the template.
Choose File > Save.
You've made a change to the template, so you need to save it.
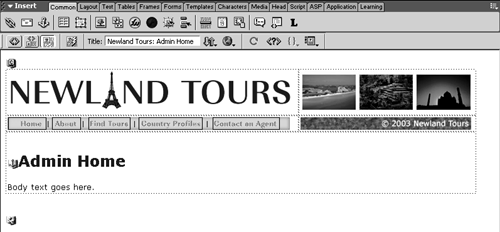
Choose File > Save As, and save the file as admin_index.asp. Change the page title to Newland Tours: Admin Home, and change main heading to Admin Home.
Employees will use this page as a starting point for administrative tasks. You'll also enable them to log in directly to this page.
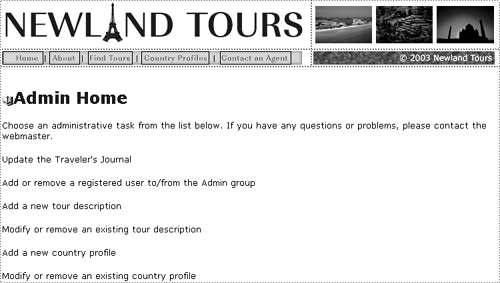
In the body section, enter the following lines of text:
Choose an administrative task from the list below. If you have any questions or problems, please contact the webmaster.
Update the Traveler's Journal
Add or remove a registered user to/from the Admin group
Add a new tour description
Modify or remove an existing tour description
Add a new country profile
Modify or remove an existing country profile
This is the main menu for the page. You'll add actual links as you go, but now you have the framework.
Link the word webmaster to your own email ( don't forget the mailto: prefix). Save and close admin_index.asp.
Whenever you deploy a content management system, make sure you provide explicit directions and contact information, in case its users have any problems.
TIP
Developers often put admin files in a separate folder, which has different permissions. For the sake of simplicity, we'll keep everything in one place and prefix all admin pages with admin_. The topic of Web application security is beyond the scope of this book, but it is not a topic you should take lightly when you start developing dynamic applications in the real world.
Open index.asp, and just below the Log In link, add a new link called Admin, which links to admin_index.asp.
Now all usersvisitors and employees alikecan access what they need through the site's front door.
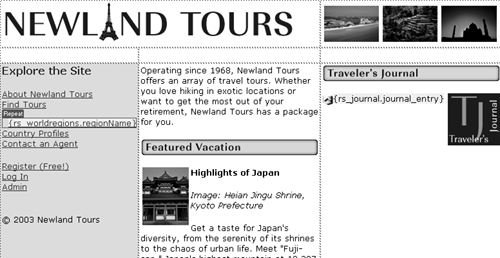
Test the new link (including log-in functionality) by pressing F12 with index.asp open and attempting to access admin_index.asp. At the log-in screen, use the following credentials to access the admin section of your site.
Username: zfrome@starknet.com
Password: hypochondriac
Though you probably created one or more of your own registration accounts in Lesson 13, remember, these are set to the visitor user group. You can't use them (yet) to access admin_index.asp. The credentials supplied above are already in the database (in tbl_users), with admin as the value in the userGroup column.


