Creating links to a confirmation page (ColdFusion)
Creating links to a confirmation page (ColdFusion)
After creating the results page (see Searching for the record to delete (ColdFusion)), you must create links that the user can click to confirm the deletion of the associated record from the database. This section describes how to create the links. The next section describes how to modify the link so that it also passes the ID of the record that the user wants to delete. The confirmation page uses this ID to find and display the record.
To create links to a confirmation page:
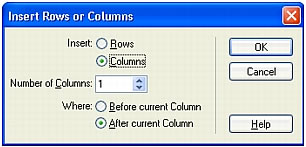
- On the results page, create a new column in the table used to display records by clicking inside the last table column and selecting Modify > Table > Insert Rows or Columns.
The Insert Rows or Columns dialog box appears.
- Select the Columns option, then select the After Current Column option and click OK.
Dreamweaver adds a column to the table.
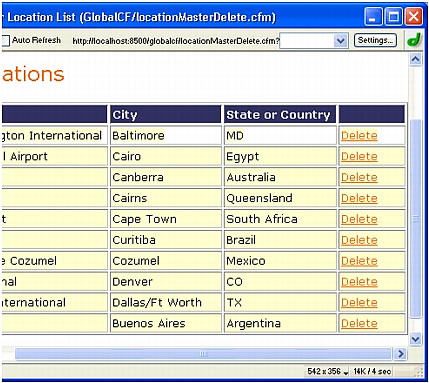
- In the newly created table column, enter the string
Deletein the row containing the dynamic content placeholders. Make sure you enter the string inside the tabbed repeat region.You can also insert an image with a word or symbol for delete.
If Live Data view is turned on, enter the string in the first row of records and click the Refresh icon.
- Select the
Deletestring to apply a link to it.If Live Data view is turned on, select the string in the first row of records.
- In the Property inspector, enter the confirmation page in the Link text box.
You can enter any filename you want.
After clicking outside the Link text box, the Delete string appears linked in the table. If you enable Live Data view (View > Live Data), you can see that the link is applied to the same text in every table row. If Live Data view is already turned on, click the Refresh icon to apply the links to each row.
After creating the links, the next step is to create URL parameters for the links. See Creating a URL parameter to pass to the confirmation page (ColdFusion).
 |  |


