Attach the XSLT page to the XML page
Attach the XSLT page to the XML page
Once your XSLT page is finished, you must attach it to the XML page. When you use Dreamweaver to attach the page, Dreamweaver inserts a link to the XSLT page at the top of the XML page.
The XML page is the page to which your site visitors will browse when viewing the page online. This is because they must browse to the "content" page containing the data (the XML file), instead of the page that contains the styles (the XSLT page).
NOTE |
|
The XML and XSL files you use for client-side transformations must reside in the same directory. If they don’t, the browser will read the XML file and find the XSLT page for the transformation, but will fail to find assets (style sheets, images, and so on) defined by relative links in the XSLT page. |
- With the xml_menu.xsl page open in the Document window, open the Bindings panel (Window > Bindings) if it isn’t already open.
- In the Bindings panel, double-click on Schema for specials.xml to open the specials.xml file. (You must double-click the words, and not the page icon.)
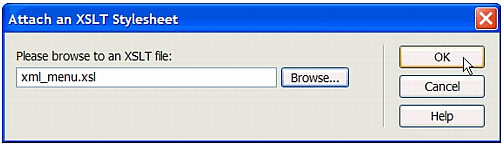
- Select Commands > Attach an XSLT Stylesheet.
- In the Attach an XSLT Stylesheet dialog box, click the Browse button, browse to the xml_menu.xsl page, select it, and click OK.
- Click OK to close the Attach an XSLT Stylesheet dialog box.
Dreamweaver inserts the reference to the XSLT page at the top of the XML document.
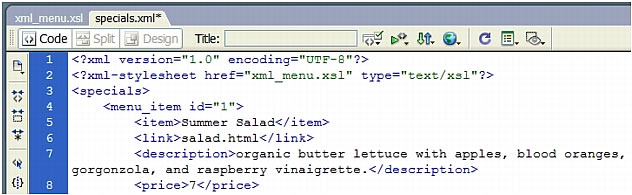
- Save the specials.xml page.
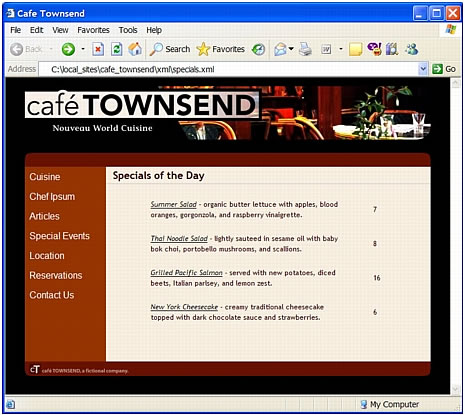
- Preview the XML page (not the XSLT page) in a browser by pressing F12 (Windows) or Option+F12 (Macintosh).
The XML page is displayed in a browser, styled with the XSLT page you created.
Remember, your site visitors will browse to the XML page (not the XSLT page) once you’ve deployed both pages to your server. For more information, see About client-side XSL transformations in Using Dreamweaver (Help > Using Dreamweaver).
 |  |


