Set table properties
Set table properties
Now you’ll set precise table properties, using Expanded Tables mode, a feature that temporarily adds cell padding and spacing to tables and increases the borders of the tables to simplify editing. Specifically, it lets you position the insertion point precisely without accidentally selecting the wrong table or other table content.
NOTE |
|
After you finish setting table properties in Expanded Tables mode, always return to Standard mode. Expanded Tables mode is not a WYSIWYG (what you see is what you get) environment, so some operations, such as resizing, do not display the expected results |
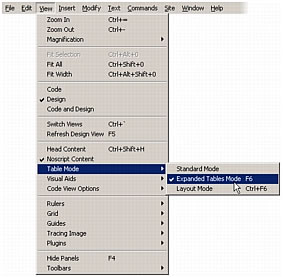
- Select View > Table Mode > Expanded Table Mode.
NOTE
If you see the Getting Started with Expanded Tables Mode dialog box, click OK.
- Click once inside the first row of the first table.
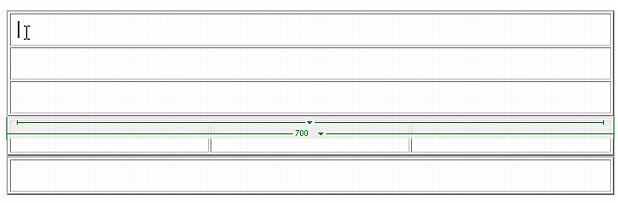
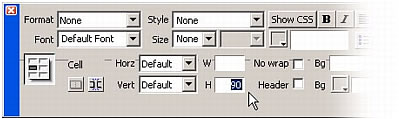
- In the Property inspector (Window > Properties), enter 90 in the Cell Height (H) text box and press Enter (Windows) or Return (Macintosh).
NOTE
If you cannot see the Cell Height text box, click the expander arrow in the lower-right corner of the Property inspector.
- Click once inside the second row of the first table.
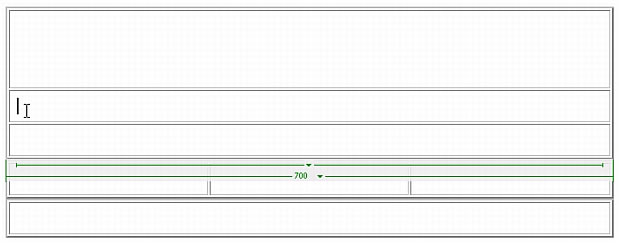
- In the Property inspector, enter 166 in the Cell Height text box and press Enter (Windows) or Return (Macintosh).
- Click once inside the third row of the first table.
- In the Property inspector, enter 24 in the Cell Height text box and press Enter (Windows) or Return (Macintosh).
You should now have three rows of differing heights in the first table.
Next you’ll set properties for the second table (the table that contains three columns).
- Click once inside the first column of the second table.
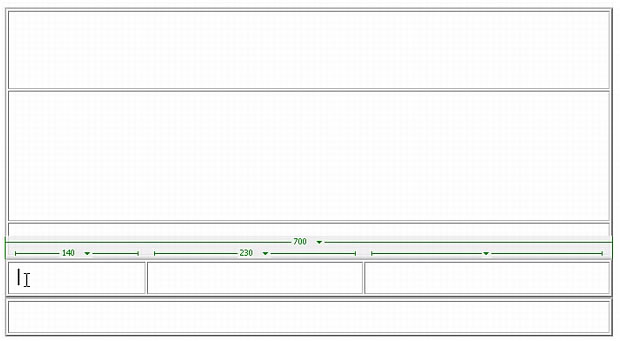
- In the Property inspector, enter 140 in the Cell Width (W) text box and press Enter (Windows) or Return (Macintosh).
- Click once inside the second column of the second table.
- In the Property inspector, enter 230 in the Cell Width text box and press Enter (Windows) or Return (Macintosh)
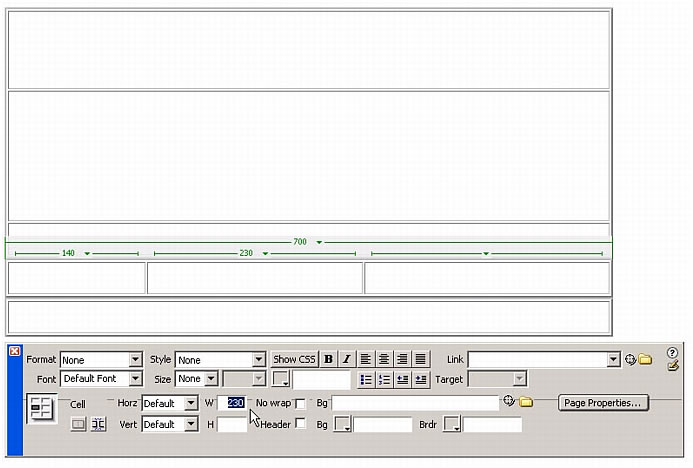
- Set the width of the third column to 330 pixels.
If you have the Table selector enabled (View > Visual Aids > Table Widths), you’ll see all three of the pixel values you just entered above the respective table columns.
You won’t enter any height values for the cells in this table because the height of those cells will vary depending on the content you add later.
- Finally, click once inside the last table (the table with one row and one column).
- In the Property inspector, enter 24 in the Cell Height text box and press Enter (Windows) or Return (Macintosh).
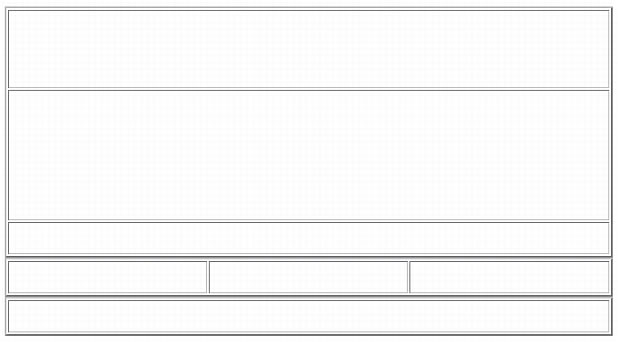
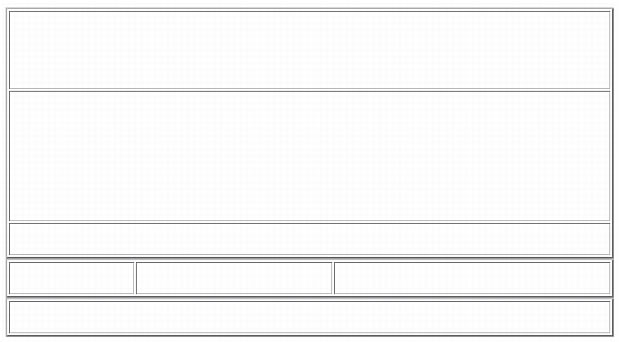
Your layout should now look as follows:
- Click the Exit Expanded Tables Mode link at the top of the Document window to return to Standard mode. 7
- Save your page.
 |  |


