Creating HTML forms
Creating HTML forms
This section describes how to create HTML forms in Dreamweaver.
You can also use Dreamweaver to create ASP.NET web forms. For more information, see Building ASP.NET forms.
To create an HTML form:
- Open a page and place the insertion point where you want the form to appear.
- Select Insert > Form, or select the Forms category in the Insert bar and click the Form icon.
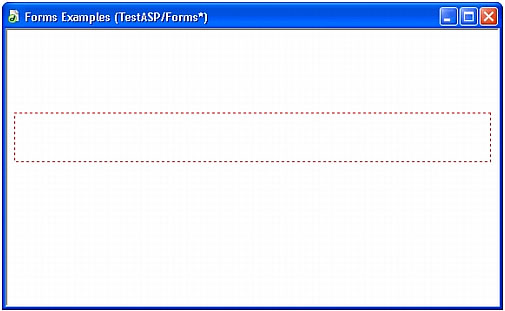
Dreamweaver inserts an empty form. With a page in Design view, forms are indicated by a dotted red outline. If you don’t see this outline, check that View > Visual Aids > Invisible Elements is selected.

- Specify the page or script that will process the form data.
In the Document window, click the form outline to select the form. In the Property inspector (Window > Properties), type the path in the Property inspector’s Action text box, or click the folder icon to navigate to the appropriate page or script.
- Specify the method to use to transmit the form data to the server.
In the Property inspector, select one of the following options in the Method pop-up menu:
Default uses the browser’s default setting to send the form data to the server. Typically the default is the
GETmethod.GET appends the value to the URL requesting the page.
POST embeds the form data in the HTTP request.
For more information, see Setting form properties.
- Insert form objects.
Place the insertion point where you want the form object to appear in the form, and then select the object in the Insert > Form menu, or in the Forms category of the Insert bar.
For more information, see Inserting HTML form objects or Inserting dynamic HTML form objects.
If desired, set the properties of the form object after inserting it in the page. For more information, select the form object and click the Help icon in the Property inspector.
- Adjust the layout of the form as desired.
You can use line breaks, paragraph breaks, preformatted text, or tables to format your forms. You cannot insert a form in another form (that is, you cannot overlap tags), but you can include more than one form in a page.
When designing forms, remember to label the form fields with descriptive text to let users know what they’re responding to--for example, "Type your name" to request name information.
Use tables to provide structure for form objects and field labels. When using tables in forms make sure all the
tabletags are included between theformtags.
Related topics
- Validating HTML form data
- Attaching JavaScript behaviors to HTML form objects
- Attaching custom scripts to HTML form buttons
- Creating accessible HTML forms
 |  |


