Draw a new layer
Draw a new layer
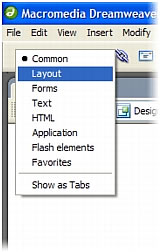
- With the index_css.html page open in the Document window, select Layout mode from the Insert bar.
- Click Draw Layer.

The mouse pointer changes to a cross when you move it over the page.
- Drag a layer of any size onto the page and release the mouse button.
- Click the selection handle at the upper-left corner of the layer to make sure that it is selected.
- With the new layer selected, do the following in the Property inspector (Window > Properties):
- Click in the Layer ID text box and rename the layer banner_graphic.
- In the Width (W) text box, enter 700px.
- In the Height (H) text box, enter 90px.
- In the Left (L) text box, enter 20px.
- In the Top (T) text box, enter 20px.
- Press Enter (Windows) or Return (Macintosh) to apply your last entry.
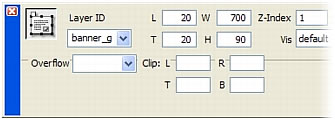
Dreamweaver sizes and positions the new banner_graphic layer. The banner_graphic layer is 700 pixels wide by 90 pixels high. It is also positioned 20 pixels from the left margin of the page, and 20 pixels from the top margin of the page.
TIP
You positioned the banner_graphic layer by using precise pixel values in the Property inspector, but you can position a layer anywhere on the page by dragging the selection handle in the upper-left corner of a selected layer.
- Open the Layers panel (Window > Layers). You’ll see that Dreamweaver has added the new layer (banner_graphic) to the list of layers.
- Click once outside the new layer to deselect it.
- Save your page.
 |  |


Remember the name: eTutorials.org
Copyright eTutorials.org 2008-2024. All rights reserved.