Add an image with code hints
Add an image with code hints
To add code to the page manually, click in Code view and start typing. You can use the code hints feature to speed up your work.
In this section, you’ll use code hints to add the street sign image to the Cafe Townsend index page.
- Open the index.html page, if it’s not already open.
- In Design view, select the street_sign.jpg image (it’s below the Flash Video placeholder) and press Delete.
Now you’ll use code hints to reinsert the image, instead of dragging it from the Assets panel as you did in Tutorial: Adding Content to Pages.
- Switch to Code view by clicking Code view in the Document toolbar, or by selecting View > Code View.
In Code view, the insertion point should be between an open and a close paragraph tag, as follows:
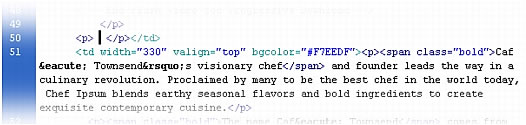
If you don’t see an open and a close paragraph tag before the closing table cell </td> tag, type them in as follows:
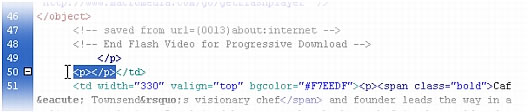
Place the insertion point between the opening
<p>tag and the closing<p>tag. - Delete anything that might be between the opening
<p>tag and the closing<p>tag, for example, a nonbreaking space ( ). - With the insertion point between the opening
<p>tag and the closing<p>tag, type an opening angle bracket (<).A list of tags appears at the insertion point.

NOTE
You can set the length of the delay before the list appears by selecting Edit > Preferences (Windows) or Dreamweaver > Preferences (Macintosh), and then selecting Code Hints from the category list on the left. In Code view, you can display a code hints menu at any time by pressing Control+Spacebar, and you can close a code hints menu at any time by pressing Escape.
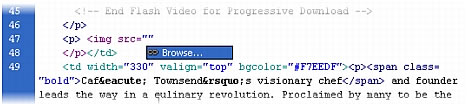
- Select the
imgtag from the list, and then press Enter (Windows) or Return (Macintosh) to insert the first part of the tag.TIP
To quickly scroll to a tag, start to type the tag name.
- Press Spacebar to display a list of attributes for the tag.
- Begin to type src, and press Enter (Windows) or Return (Macintosh) when the
srcattribute is selected in the hints menu.The word Browse appears, selected, below the code you just typed.
- Press Enter (Windows) or Return (Macintosh) to browse to a file.
- In the Select File dialog box, navigate to the street_sign.jpg file (it’s in the images folder in the cafe_townsend root folder), and click OK (Windows) or Choose (Macintosh).
The URL of the image file is inserted as the value of the
srcattribute, and the insertion point appears after the closing quotation mark.
- Press the Spacebar, select the
altattribute from the hints menu, and press Enter (Windows) or Return (Macintosh). - Leave the quotation marks empty, because this image is only an illustration.
Use the Right Arrow key to move the insertion point to the right of the quotation marks.
- Type a closing angle bracket (>) to complete the tag.

- Save your page.
TIP
To add an attribute to an existing tag, place the insertion point just after the tag’s final attribute value and press the Spacebar. When a list of attributes appears, add an attribute and specify a value, if any.
 |  |


