Add layers inside a layer
Add layers inside a layer
The last layers you’ll draw will be inside the large center_content layer. These layers act as the equivalent of the table cells you added to the page if you completed Tutorial: Creating a Table-based Page Layout
- Click once to the right of your layers to make sure everything is deselected.
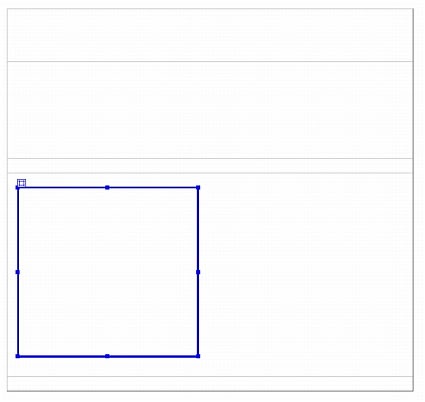
- In the Layout category of the Insert bar, click Draw Layer and drag another layer inside the center_content layer as the following example shows:
- Click the new layer’s selection handle to make sure the layer selected.
- With the new layer selected, do the following in the Property inspector:
- Click in the Layer ID text box and rename the layer navigation.
- In the Width (W) text box, enter 140px.
- In the Height (H) text box, enter 350px.
- In the Left (L) text box, enter 20px.
- Press Enter (Windows) or Return (Macintosh) to apply your last entry.
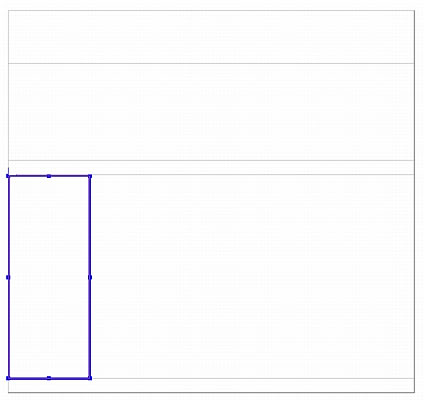
- Use the Up Arrow key on your keyboard to move the navigation layer until it fits perfectly within the center_content layer, as the following example shows:
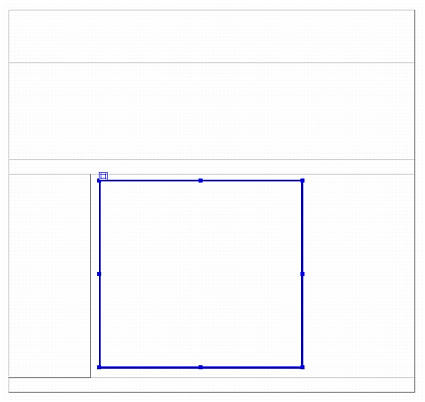
- Create another layer in the center_content layer by clicking Draw Layer and dragging another layer, as the following example shows:
- Click the new layer’s selection handle to make sure the layer is selected.
- With the new layer selected, do the following in the Property inspector:
- Click in the Layer ID text box and rename the layer flash_video.
- In the Width (W) text box, enter 230px.
- In the Height (H) text box, enter 350px.
- Press Enter (Windows) or Return (Macintosh) to apply your last entry.
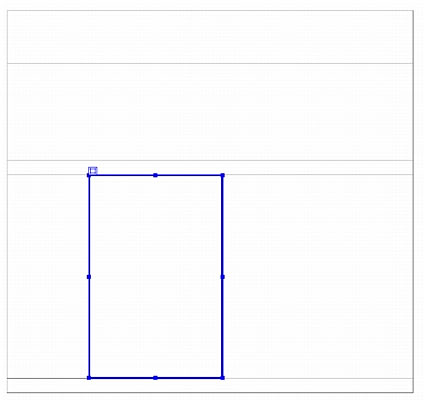
- Drag the flash_video layer or use the arrow keys on your keyboard to position the layer as the following example shows:
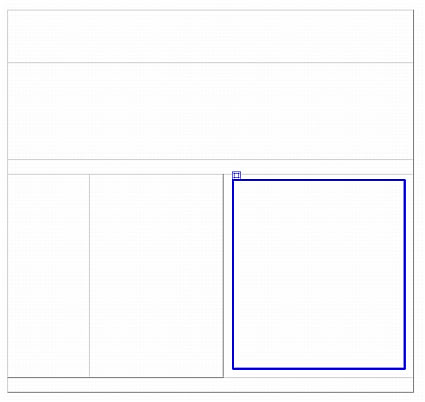
- Create one more layer in the center_content layer by clicking Draw Layer and dragging another layer as the following example shows:
- Click the new layer’s selection handle to make sure the layer is selected.
- With the new layer selected, do the following in the Property inspector:
- Click in the Layer ID text box and rename the layer text.
- In the Width (W) text box, enter 330px.
- In the Height (H) text box, enter 350px.
- Press Enter (Windows) or Return (Macintosh) to apply your last entry.
- Drag the text layer or use the arrow keys on your keyboard to position the layer as the following example shows:

NOTE
It’s OK if you see dotted lines on the borders of a layer. It means that your layers are overlapping by a pixel or two.
- Save your page.
 |  |


Remember the name: eTutorials.org
Copyright eTutorials.org 2008-2024. All rights reserved.