Create the insert form
Create the insert form
In the Form Fields section of the Record Insertion Form Wizard, you define the form that a visitor enters data into.
- In the Record Insertion Form Wizard, remove the fields you don’t want included in the form by doing the following:
- Select COMMENT_ID and click Minus (-).
- Select TELEPHONE and click Minus (-).
- Select SUBMIT_DATE and click Minus (-).
- Select ANSWERED and click Minus (-).
- If you are creating a page for ASP.NET, change the alphabetical order of the form fields by doing the following:
- In the Column list, select COMMENTS and click the down arrow to position COMMENTS below LAST_NAME.
- In the Column list, select EMAIL and click the down arrow to position EMAIL below LAST_NAME.
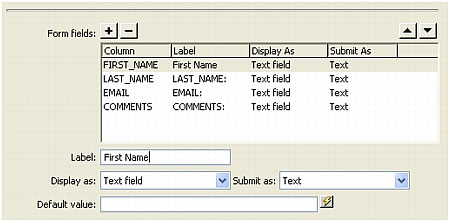
- In the Form Fields list, select FIRST_NAME to specify how the field is displayed in the form.
- In the Label text box, type First Name to replace the default text.
This is the label that appears in the HTML form next to the text box.
- Set the type of form object for the field by doing one of the following:
- If you are using ASP.NET, in the Display As pop-up menu accept the default value Text Field, and in the Submit As pop-up menu change the default value from WChar to VARCHAR.
- If you are using a server technology other than ASP.NET, in the Display As pop-up menu accept the default value Text Field, and in the Submit As pop-up menu accept the default value Text.
- Leave the Default Value field empty.
For some web applications, you would use this field to set initial text for the field in order to let the user know what kind of information to provide. In this case, the field label "First Name" makes clear that the visitor is supposed to enter their first name.
The FIRST_NAME entry should look similar to the following example when you are done:
- Repeat steps 3 through 6 for the LAST_NAME form field, with a label of Last Name, displaying as a Text Field and submitting as Text.
- Repeat steps 3 through 6 for the EMAIL form field, with a label of Email, displaying as a Text Field and submitting as Text.
- In the Form Fields list, select COMMENTS.
- In the Label field, enter Comments.
- Set the type of form object for the Comments form field by doing one of the following:
- If you are using ASP.NET, in the Display As pop-up menu, select Text Area; in the Submit As pop-up menu, select VARCHAR.
- If you are using a server technology other than ASP.NET, in the Display As pop-up menu, select Text Area, and in the Submit As pop-up menu, accept the default value Text.
The dialog box should look similar to the following example when you are done:
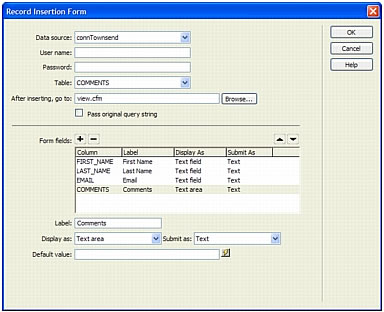
- Click OK to close the dialog box and create the record insertion form.
The Record Insertion Form application object is inserted in the document.
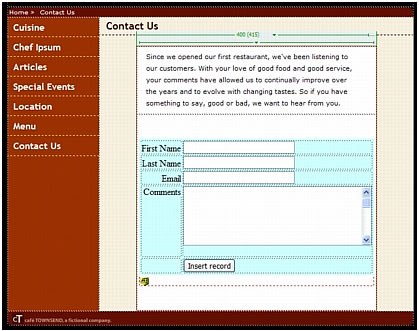
- Save your page.
 |  |


Remember the name: eTutorials.org
Copyright eTutorials.org 2008-2023. All rights reserved.