Create a new rule for the navigation
Create a new rule for the navigation
- Open the cafe_townsend.css file if it isn’t already open, or click on its tab to see it.
- Define a new rule by typing the following code in the file, after the .bold class style:
.navigation {}This is an empty rule.
The code in the file should look something like the following example:
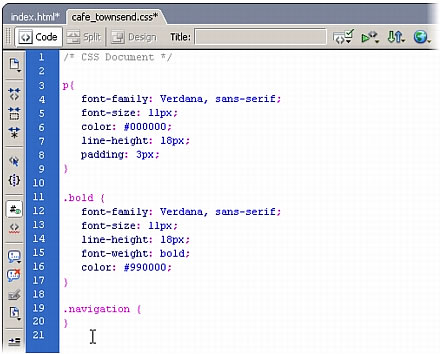
- Save the cafe_townsend.css file.
Next you’ll use the CSS Styles panel to add properties to the rule.
- Open the index.html file if it isn’t already open.
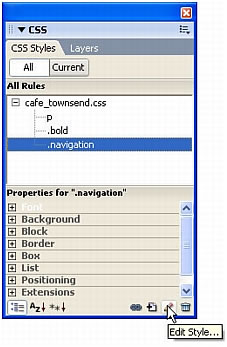
- In the CSS Styles panel, make sure All mode is selected, select the new .navigation rule and click Edit Style in the lower-right corner of the panel.
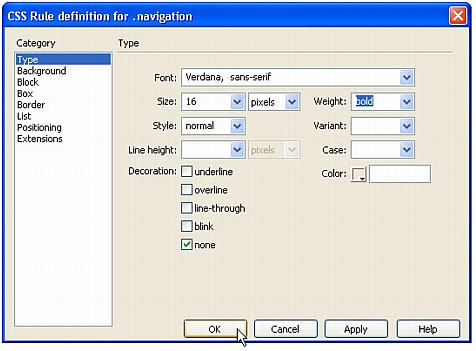
- In the CSS Rule Definition dialog box, do the following:
- Enter Verdana, sans-serif in the Font text box.
- Select 16 from the Size pop-up menu, and select pixels from the pop-up menu immediately to the right of the Size pop-up menu.
- Select Normal from the Style pop-up menu.
- Select None from the Decoration list.
- Select Bold from the Weight pop-up menu.
- Enter #FFFFFF in the Color text box
TIP
For more information about any CSS property, check the O’Reilly reference guide included with Dreamweaver. To display the guide, select Help > Reference and select O’Reilly CSS Reference from the pop-up menu in the Reference panel.
- Click OK.
Now you’ll use the CSS Styles panel to add a few more properties to the .navigation rule.
- In the CSS Styles panel, make sure the .navigation rule is selected and click Show List View.
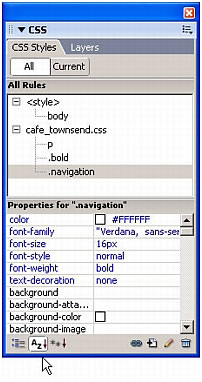
List view reorganizes the Properties pane to display an alphabetical list of all available properties (in contrast to Set Properties view, the previous view, which shows only those properties you’ve already set).
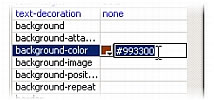
- Click in the column to the right of the
background-colorproperty.To see the full wording of a property, hold the mouse over the property.
- Enter #993300 as the hexadecimal value and press Enter (Windows) or Return (Macintosh).
TIP
To see how your work affects the external style sheet, keep the cafe_townsend.css file open in the Document window while you work. When you make a selection in the CSS Styles panel, you’ll see that Dreamweaver writes the CSS code in the style sheet at the same time.
- Locate the
displayproperty (you might need to scroll down), click once in the column to the right, and select block from the pop-up menu.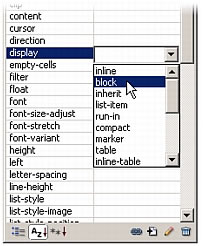
- Locate the
paddingproperty, click once in the column to the right, enter 8px as the value, and press Enter (Windows) or Return (Macintosh). - Locate the
widthproperty, click once in the column to the right, enter 140 in the first text box, select pixels from the pop-up menu, and press Enter (Windows) or Return (Macintosh). - Click Show Set Properties so that only your set properties appear in the Properties pane.
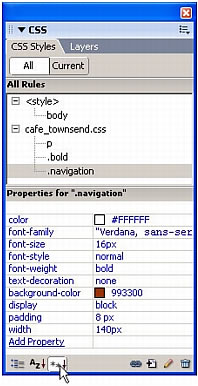
- Click on the cafe_townsend.css file to display it. You’ll see that Dreamweaver has added all of the properties you specified to the file.
- Save the cafe_townsend.css file and close it.
You’ve now created a rule to format the navigation bar text. Next you’ll apply the rule to the selected links.
 |  |


