Add more layers
Add more layers
Now you’ll add more layers to the page. You’ll use the first layer (banner_graphic) as a reference point for positioning the other layers. You’ll also use the CSS Layer Backgrounds feature to help you position and distinguish between layers.
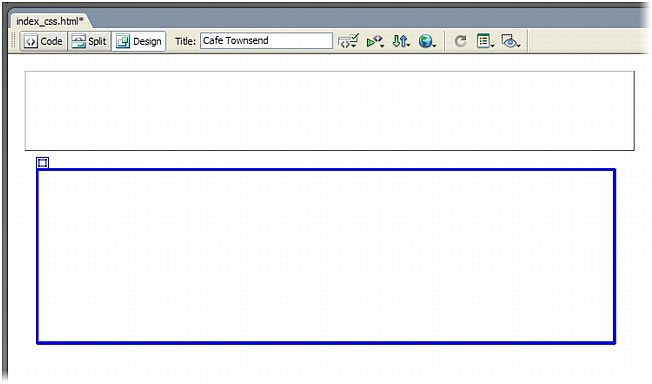
- In the Layout category of the Insert bar, click Draw Layer and drag another layer of any size on the page.
- Click the new layer’s selection handle to select it.
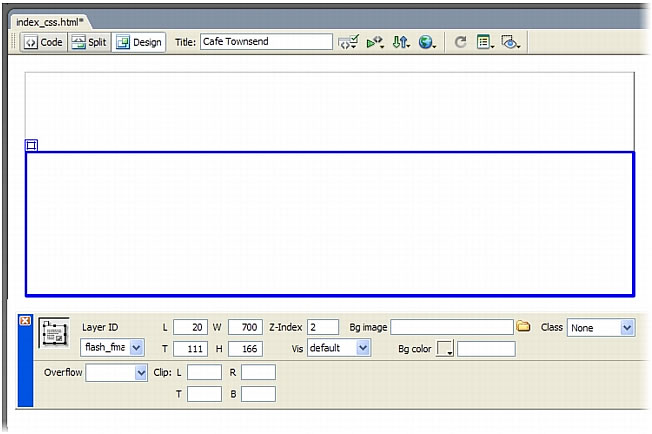
- With the new layer selected, do the following in the Property inspector:
- Click in the Layer ID text box and rename the layer flash_fma.
- In the Width (W) text box, enter 700px.
- In the Height (H) text box, enter 166px.
- In the Left (L) text box, enter 20px.
- In the Top (T) text box, enter 111px.
- Press Enter (Windows) or Return (Macintosh) to apply your last entry.
Dreamweaver sizes and positions the new flash_fma layer.
 .
.The flash_fma layer is 700 pixels wide by 166 pixels high. It is also positioned 20 pixels from the left margin of the page, and 111 pixels from the top margin of the page. You positioned this layer 111 pixels from the top margin of the page so that it would not overlap with the banner_graphic layer.
When layers overlap, you’ll notice that the border of one of layers (specifically, the underlying layer) is represented by a dotted a line.
- Click once outside the new layer to deselect it.
- Select View > Visual Aids > CSS Layout Backgrounds.
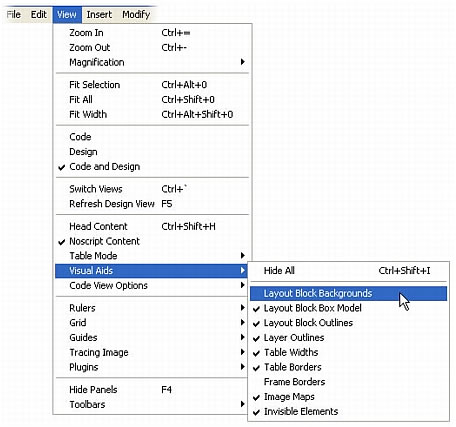
Dreamweaver adds background colors to your layers. These colors are randomly selected and do not appear on the published web page. They are merely visual aids that Dreamweaver provides to help you see where layers and other kinds of block elements appear on the page.
You can optionally disable CSS Layout Backgrounds again by selecting View > Visual Aids and deselecting CSS Layout Backgrounds.
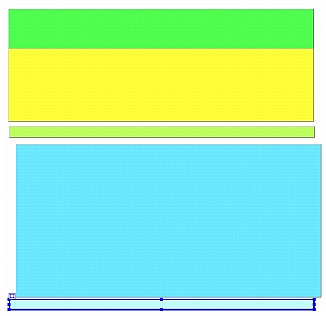
- Next, drag three more layers onto the page, underneath the banner_graphic layer and the flash_fma layer.
Remember to click Draw Layers in the Insert bar each time before you drag a new layer.
- After you have three more layers on the page, use the Property inspector to do the following:
- Select the first layer, name it header, and size it to 700 pixels wide by 24 pixels high.
- Press Enter (Windows) or Return (Macintosh) to apply your last entry.
TIP
When you select a layer, be sure to click somewhere on the layer border or the layer’s selection handle, and not inside the layer. You can be sure the layer is selected if you see resize handles on the borders of the layer, and width and height properties in the Property inspector. You can also select a layer by clicking its name in the Layers panel (Window > Layers).
- Select the second layer, name it center_content, and size it to 700 pixels wide by 350 pixels high.
- Press Enter (Windows) or Return (Macintosh) to apply your last entry.
NOTE
When you resize the center_content layer to 350 pixels high, it will overlap the remaining layer on the page. Before you proceed with the next step, move the remaining layer below the center_content layer by selecting the remaining layer and dragging the selection handle to the bottom of the page.
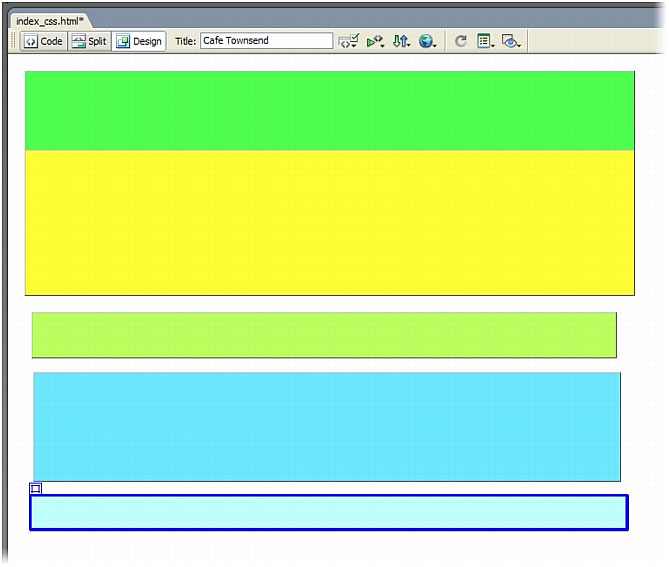
- Select the third layer, name it footer, and size it to 700 pixels wide by 24 pixels high. Press Enter (Windows) or Return (Macintosh) to apply your last entry.
When you’re finished, your page should look something like this:
- Next, select the header layer and drag the selection handle until the header layer is positioned directly beneath the flash_fma layer.
You can check your position from time to time as you drag the layer by clicking outside the layer to deselect it.
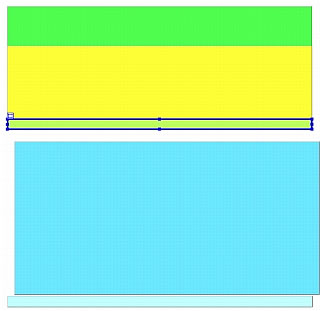
TIP
You can also move selected layers one pixel at a time by pressing the arrow keys on your keyboard. Try using the Property inspector to align the header layer 20 pixels from the left margin of the page. Then use the Up Arrow key to move the layer up until it touches the bottom border of the flash_fma layer.
- Select and drag the center_content layer and the footer layer, or use the arrow keys on your computer to position the layers, as the following example shows:
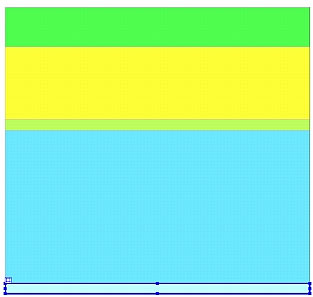
TIP
You can also use the Visual Aids button on the Document toolbar to enable or disable CSS Layout Backgrounds.

- After your layers are in position, disable CSS Layout Backgrounds (if it isn’t already) by selecting View > Visual Aids and deselecting CSS Layout Backgrounds.
 |  |


