Insert an image by using the Insert menu
Insert an image by using the Insert menu
- Click once inside the third row of the first table (two rows below the banner graphic you just inserted, just above the colored table cells).
- Select Insert > Image.
- In the Select Image Source dialog box, navigate to the images folder inside the cafe_townsend folder, select the body_main_header.gif file, and click OK.
NOTE
If the Image Tag Accessibility Attributes dialog box appears, click OK.
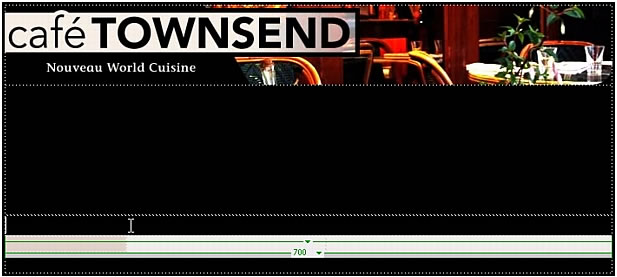
A long colored graphic appears in the table row. This might look more like background color for the table cell than a graphic, but if you look closely, you’ll see that the graphic has rounded corners. The rounded corner effect gives the lower portion of your page an interesting appearance after you’ve finished adding all of the assets.

 |  |


Remember the name: eTutorials.org
Copyright eTutorials.org 2008-2023. All rights reserved.