Add a tag with the Tag Chooser
Add a tag with the Tag Chooser
Next, you’ll use the Tag Chooser to wrap a div tag around one of the images on the page. You can then assign margins, borders, or colors to the image as you desire. There are a variety of ways to wrap a div tag around an image; this section explains how to use the Tag Chooser, which helps you insert any tag and add appropriate attribute values.
- Open the index.html file, if it’s not already open.
- In Design view, click the Cafe Townsend banner graphic (banner_graphic.jpg) to select it.
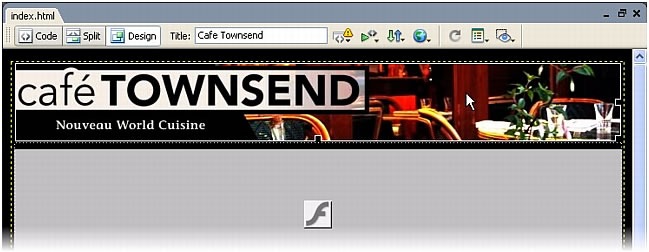
- Switch to Code view by clicking Code view in the Document toolbar, or by selecting View > Code View.
You’ll see that the code for the selected image is selected in Code view. Make sure the entire
imgtag is selected, including the opening and closing angle brackets.
- If it isn’t already enabled, select View > Code View Options > Word Wrap to enable word wrap.
- Right-click (Windows) or Control-click (Macintosh) the selected text, and then select Insert Tag from the pop-up menu.
The Tag Chooser appears.
- In the Tag Chooser, expand the HTML Tags category, followed by the Formatting and Layout subcategory; then select General.
A list of tag names appears in the right pane; select
divfrom that list.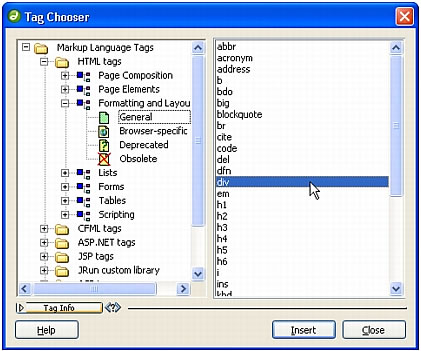
NOTE
You can also select the HTML Tags category, and then select the
divtag in the right pane, without first expanding Formatting and Layout. - Click Insert.
A tag editor for the
divtag appears. - In the tag editor, select the Style Sheet/Accessibility category and enter banner in the ID text box.
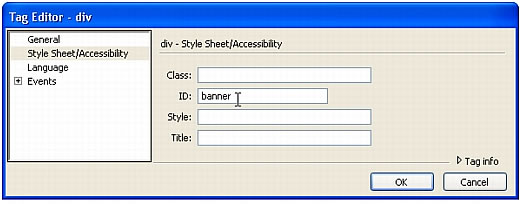
- Click OK to close the tag editor and insert the tag.
Dreamweaver inserts the
divtag in your page, wrapping it around the image tag.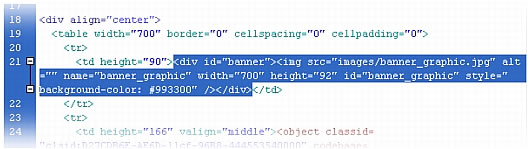
- Click Close to close the Tag Chooser.
- Save your page.
 |  |


